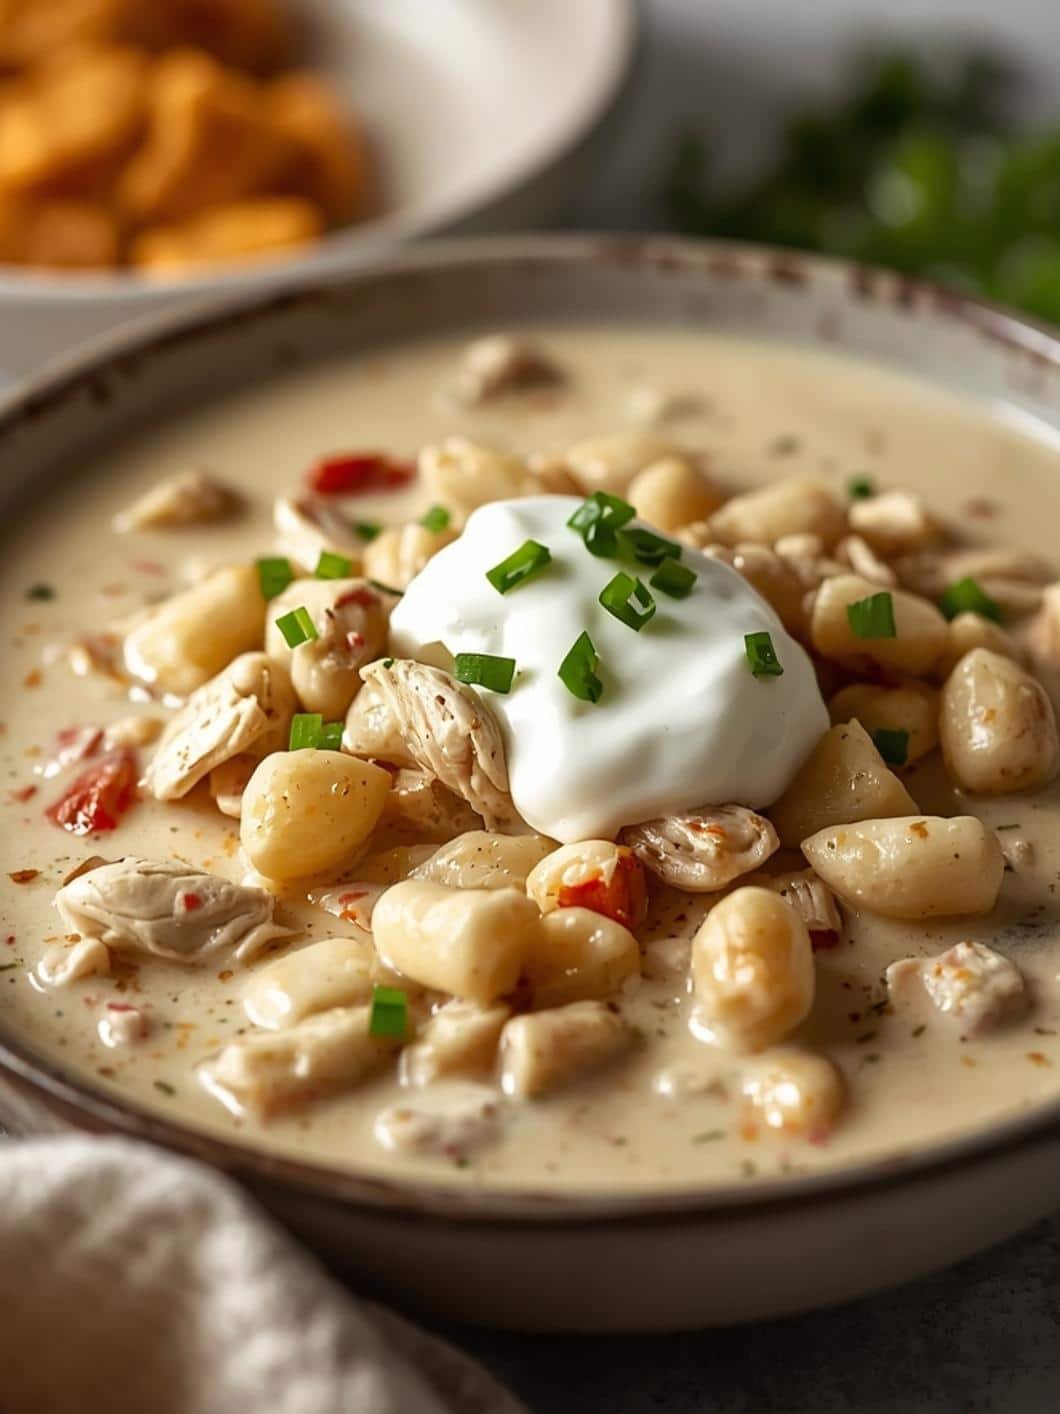
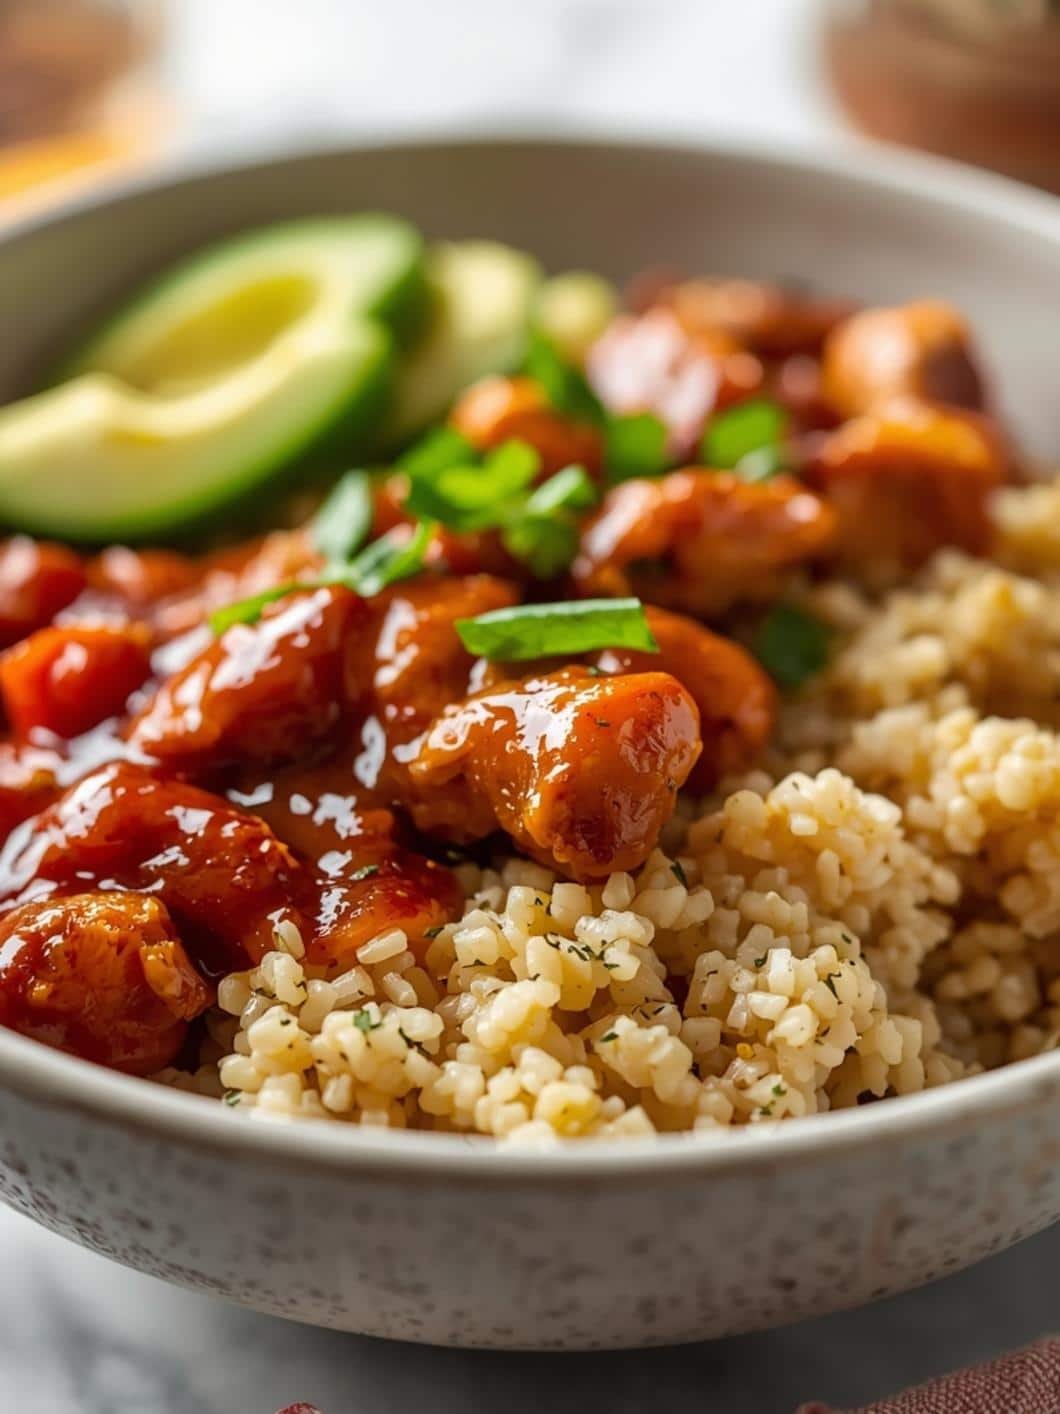
This Instant Pot garlic ginger chicken and veggies recipe is a true lifesaver for busy weeknights.

It’s packed with flavor, incredibly easy to prepare, and delivers a healthy, satisfying meal that the whole family will enjoy. Forget spending hours in the kitchen; this dish comes together quickly, making it perfect for those evenings when time is short but you still want a wholesome, home-cooked dinner.
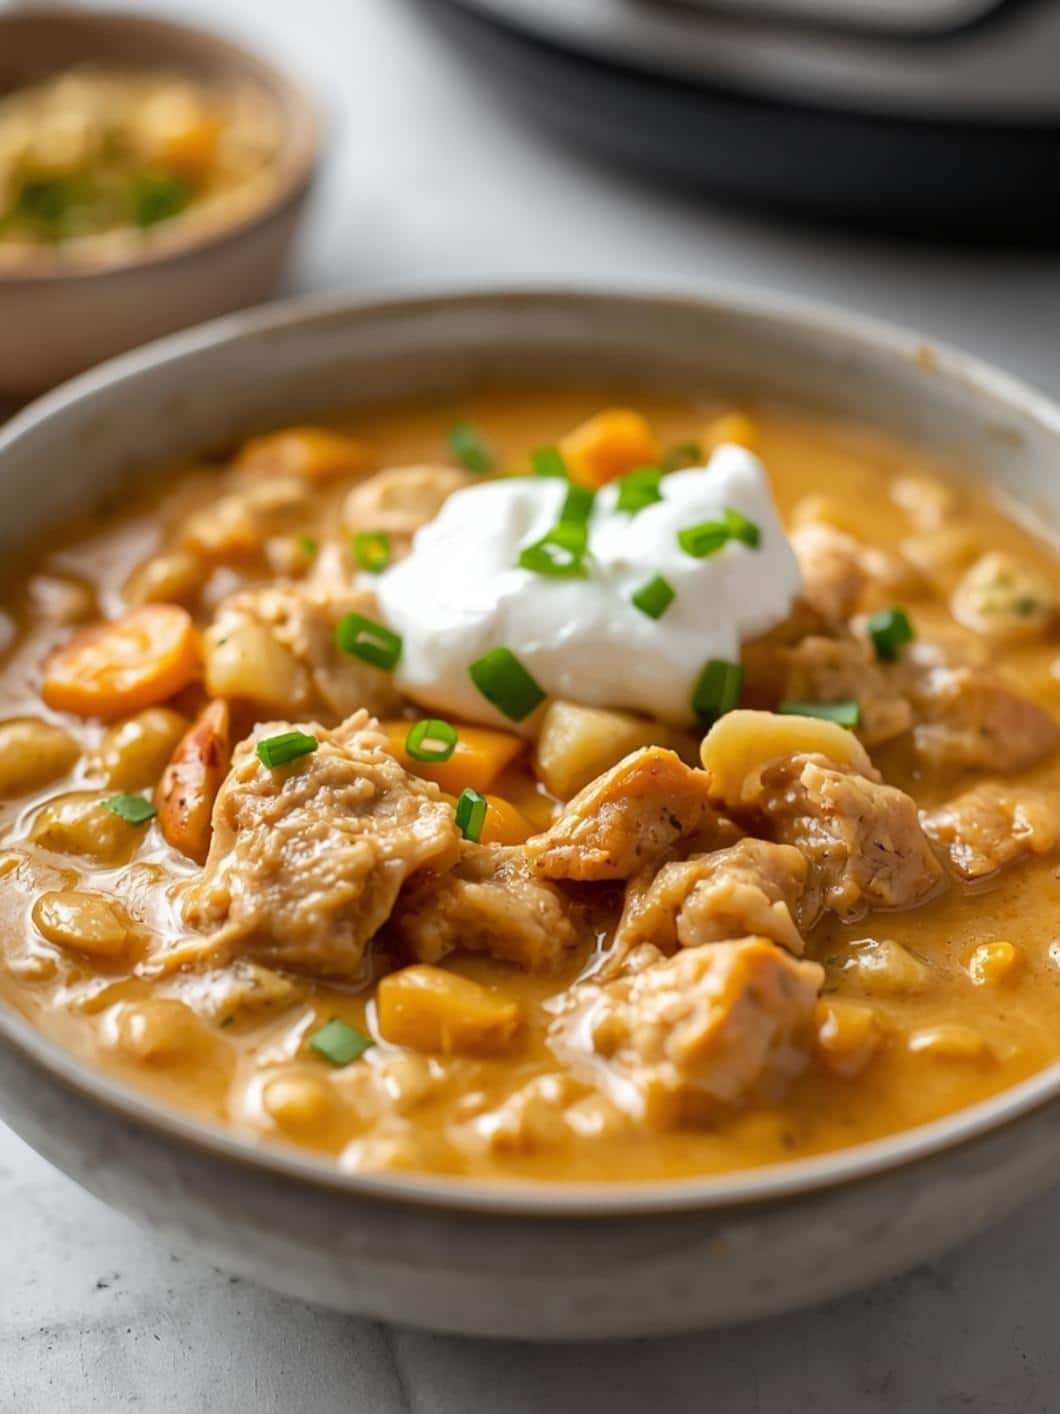
Crafted with convenience and nutrition in mind, this recipe utilizes your Instant Pot to create tender chicken and perfectly cooked vegetables infused with aromatic garlic and ginger. It’s a fantastic option for anyone looking for healthy crockpot recipes with chicken that are also high in fiber and suitable for a balanced diet. Get ready to add a new favorite to your meal rotation!
Table of Contents
- What You’ll Love About This Quick And Easy Recipe
- Everything You Need To Make This Recipe Without Stress
- Time Needed From Start To Finish
- How To Make It Step By Step With Visual Cues
- Easy Variations And Serving Ideas That Fit Real Life
- Common Slip-Ups And How To Avoid Them
- How To Store It And Make It Ahead Without Ruining Texture

Instant Pot Garlic Ginger Chicken and Veggies
- Total Time: 30-35 minutes
- Yield: 4 servings 1x
Description
This Instant Pot garlic ginger chicken and veggies recipe is a true lifesaver for busy weeknights. It’s packed with flavor, incredibly easy to prepare, and delivers a healthy, satisfying meal that the whole family will enjoy. Forget spending hours in the kitchen; this dish comes together quickly, making it perfect for those evenings when time is short but you still want a wholesome, home-cooked dinner.
Ingredients
Instructions
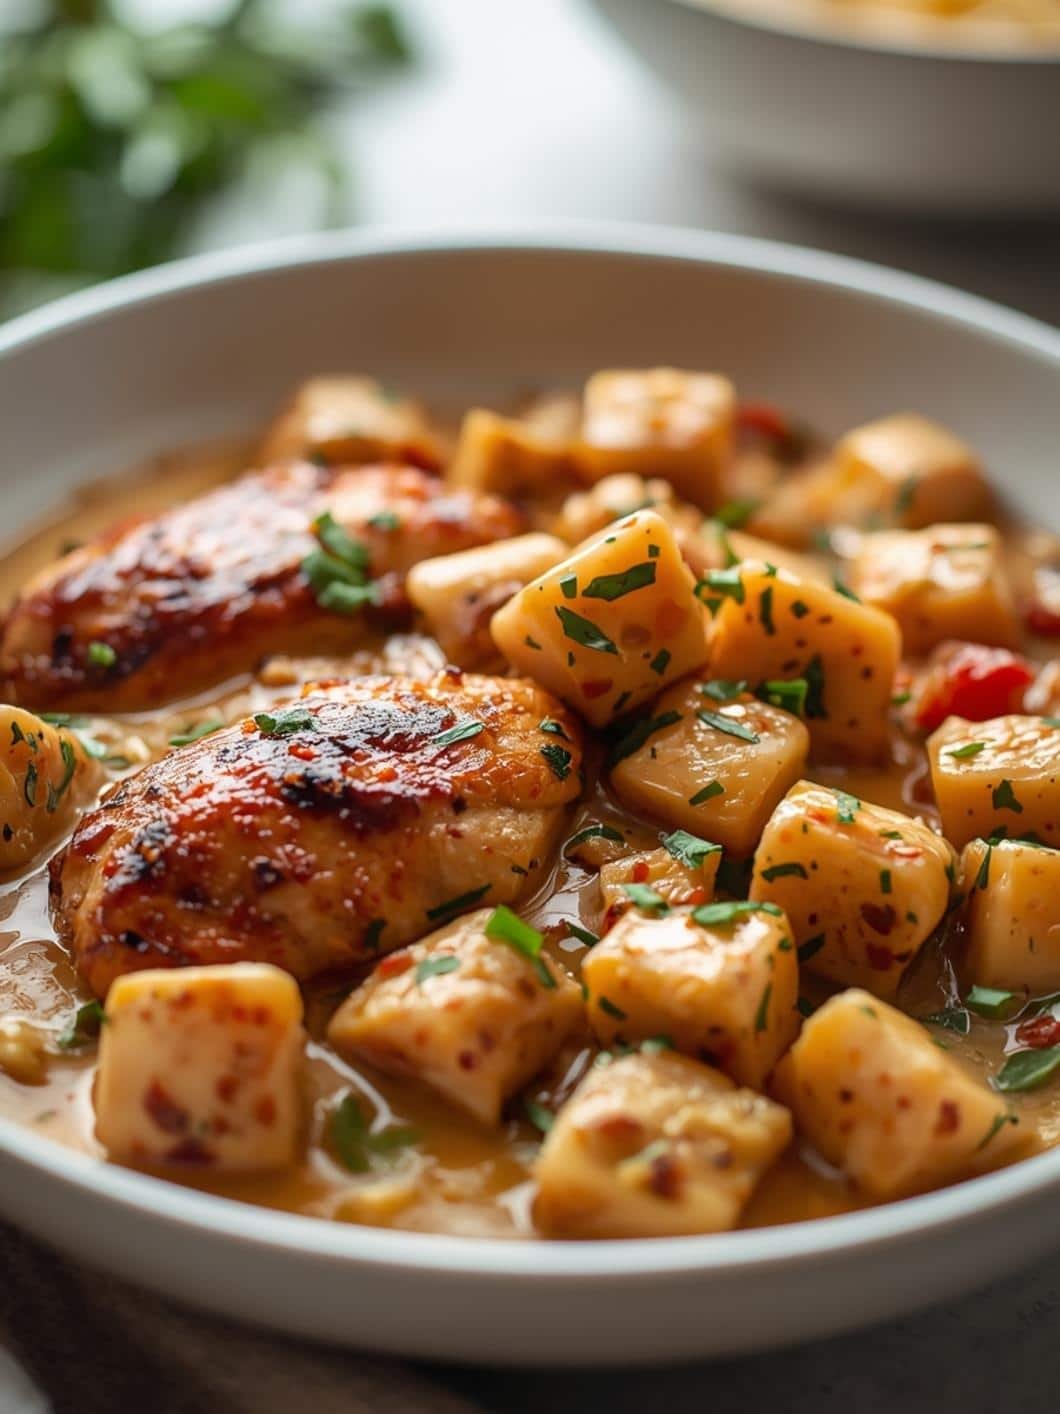
1. Prepare the Chicken and Saute Aromatics: Start by cutting your boneless, skinless chicken breasts into uniform 1-inch pieces. Set your Instant Pot to the “Saute” function and add the olive oil. Once hot, add the chopped onion and cook for 3-4 minutes until softened and translucent. Stir in the minced garlic and grated ginger, cooking for another minute until fragrant.
2. Brown the Chicken: Add the chicken pieces to the Instant Pot and cook for 2-3 minutes, stirring occasionally, until lightly browned on all sides. This step helps seal in the juices and adds depth of flavor, though the chicken doesn’t need to be cooked through at this stage.
3. Deglaze and Add Liquids: Pour in the chicken broth and use a wooden spoon to scrape up any browned bits from the bottom of the pot. This is crucial to prevent a “Burn” notice. Stir in the soy sauce and honey (or maple syrup).
4. Add the Vegetables: Place the mixed vegetables on top of the chicken and liquid. Try to keep them somewhat on top rather than fully submerged, as this helps them steam and cook perfectly without becoming mushy. Do not stir them in completely.
5. Pressure Cook the Meal: Secure the lid on your Instant Pot, making sure the sealing valve is in the “Sealing” position. Select the “Manual” or “Pressure Cook” setting and set the timer for 5 minutes on high pressure.
6. Release Pressure and Thicken (Optional): Once the cooking cycle is complete, allow for a 5-minute natural pressure release, then carefully switch the valve to “Venting” for a quick release of any remaining pressure. Once the pin drops, open the lid. If you prefer a thicker sauce, remove about 1/2 cup of the liquid, whisk in the cornstarch until smooth, and then stir it back into the pot. Select “Saute” again and cook for 1-2 minutes, stirring constantly, until the sauce thickens.
7. Season and Serve: Taste the dish and adjust seasoning with salt and black pepper as needed. Garnish with fresh cilantro or green onions, if desired, and serve immediately.
- Prep Time: 15 minutes
- Cook Time: 10 minutes
- Category: main dish
- Method: pressure cooking
- Cuisine: asian
Nutrition
- Serving Size: 1 serving
Keywords: chicken, instant pot, garlic, ginger, vegetables, healthy, weeknight, easy, dinner, meal prep
What You’ll Love About This Quick And Easy Recipe
This recipe is a dream come true for busy families and anyone seeking a healthy, no-fuss dinner solution. It works perfectly because the Instant Pot handles most of the work, locking in flavors and nutrients while significantly cutting down on cooking time compared to traditional methods. You get tender, juicy chicken and perfectly cooked vegetables without having to stand over the stove. It’s ideal for weeknight dinners when you need something nutritious and delicious on the table fast, but it’s also great for meal prepping on a Sunday to enjoy throughout the week. If you’re looking for healthy crockpot recipes with vegetables that are also high in fiber, this dish checks all the boxes, making it a smart choice for maintaining a balanced diet.
Everything You Need To Make This Recipe Without Stress
Gathering your ingredients for this Instant Pot garlic ginger chicken and veggies is straightforward, focusing on fresh, wholesome items that are readily available. The beauty of this dish lies in its simplicity and the vibrant flavors that come from just a few key components. You’ll find that most of these are pantry staples, making it even easier to whip up on a whim.
INGREDIENTS:

- 1 ½ pounds boneless, skinless chicken breasts, cut into 1-inch pieces
- 1 tablespoon olive oil
- 1 large onion, chopped
- 4 cloves garlic, minced
- 1 tablespoon fresh ginger, grated
- 4 cups mixed vegetables (such as broccoli florets, sliced carrots, snap peas)
- 1 cup chicken broth
- 2 tablespoons soy sauce (low sodium preferred)
- 1 tablespoon honey or maple syrup
- 1 tablespoon cornstarch (optional, for thickening)
- 2 tablespoons cold water (if using cornstarch)
- Salt and black pepper to taste
- Fresh cilantro or green onions, chopped, for garnish (optional)
For simple substitutions, you can easily swap out the chicken breasts for boneless, skinless chicken thighs if you prefer a richer flavor and slightly more forgiving texture. If you’re out of fresh ginger, about 1 teaspoon of ground ginger can be used, though fresh provides a more vibrant taste. Feel free to customize the mixed vegetables based on what you have on hand or what your family enjoys; bell peppers, zucchini, or mushrooms would also work wonderfully. For a gluten-free option, ensure your soy sauce is gluten-free (like tamari) and omit the cornstarch or use arrowroot powder instead.
Time Needed From Start To Finish
This recipe is designed for speed and efficiency, making it perfect for busy schedules.
- Preparation Time: 15 minutes
- Active Cook Time: 10 minutes (plus pressure build-up and release)
- Total Time: Approximately 30-35 minutes
This includes all the chopping, sautéing, pressure cooking, and a quick natural release. It’s a truly fast way to get a healthy meal on the table!
How To Make It Step By Step With Visual Cues

Making this Instant Pot garlic ginger chicken and veggies is incredibly simple. Follow these steps to achieve a delicious and tender meal every time.
- Prepare the Chicken and Sauté Aromatics: Start by cutting your boneless, skinless chicken breasts into uniform 1-inch pieces. Set your Instant Pot to the “Sauté” function and add the olive oil. Once hot, add the chopped onion and cook for 3-4 minutes until softened and translucent. Stir in the minced garlic and grated ginger, cooking for another minute until fragrant. You’ll know it’s ready when your kitchen smells wonderfully aromatic.
- Brown the Chicken: Add the chicken pieces to the Instant Pot and cook for 2-3 minutes, stirring occasionally, until lightly browned on all sides. This step helps seal in the juices and adds depth of flavor, though the chicken doesn’t need to be cooked through at this stage.
- Deglaze and Add Liquids: Pour in the chicken broth and use a wooden spoon to scrape up any browned bits from the bottom of the pot. This is crucial to prevent a “Burn” notice. Stir in the soy sauce and honey (or maple syrup).
- Add the Vegetables: Place the mixed vegetables on top of the chicken and liquid. Try to keep them somewhat on top rather than fully submerged, as this helps them steam and cook perfectly without becoming mushy. Do not stir them in completely.
- Pressure Cook the Meal: Secure the lid on your Instant Pot, making sure the sealing valve is in the “Sealing” position. Select the “Manual” or “Pressure Cook” setting and set the timer for 5 minutes on high pressure.
- Release Pressure and Thicken (Optional): Once the cooking cycle is complete, allow for a 5-minute natural pressure release, then carefully switch the valve to “Venting” for a quick release of any remaining pressure. Once the pin drops, open the lid. If you prefer a thicker sauce, remove about ½ cup of the liquid, whisk in the cornstarch until smooth, and then stir it back into the pot. Select “Sauté” again and cook for 1-2 minutes, stirring constantly, until the sauce thickens.
- Season and Serve: Taste the dish and adjust seasoning with salt and black pepper as needed. Garnish with fresh cilantro or green onions, if desired, and serve immediately.
Easy Variations And Serving Ideas That Fit Real Life
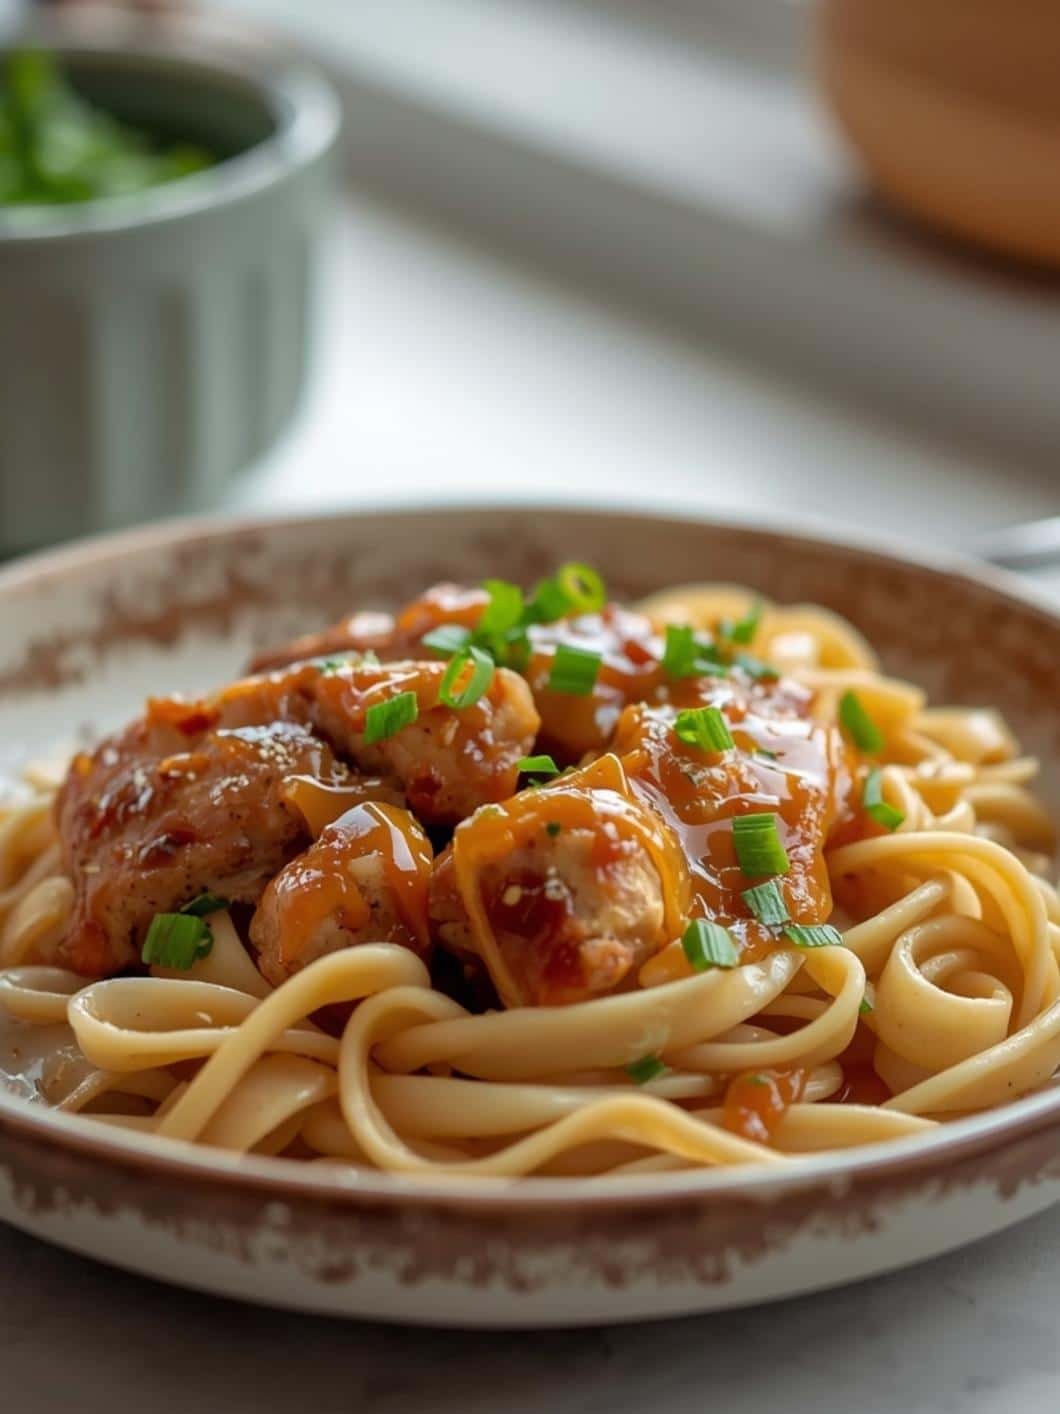
This Instant Pot garlic ginger chicken and veggies is incredibly versatile, making it easy to adapt for different tastes or occasions. For a kid-friendly twist, you can reduce the amount of ginger slightly or add a touch more honey to make the sauce a bit sweeter. Serving it over fluffy white rice or noodles is always a hit with children.
If you’re looking to switch things up, consider adding a squeeze of fresh lime juice at the end for a bright, zesty finish. A sprinkle of sesame seeds can also add a lovely nutty crunch. For a spicier kick, a pinch of red pepper flakes or a dash of sriracha can be stirred in with the soy sauce.
This dish is fantastic served over brown rice, quinoa, or even cauliflower rice for a lower-carb option. It also pairs wonderfully with a simple side salad. For a party or buffet, you could serve it in small bowls alongside chopsticks, making it an easy and elegant option that guests can enjoy. Don’t forget to offer extra fresh cilantro or green onions as optional toppings for a burst of freshness.
Common Slip-Ups And How To Avoid Them
Even with a straightforward recipe like this, a few common mistakes can impact the final outcome. Being aware of them will help ensure your dish turns out perfectly every time.
One frequent slip-up is not scraping the bottom of the pot after adding the broth. Any browned bits stuck to the bottom can cause the “Burn” notice to appear on your Instant Pot, stopping the cooking process. Always use a wooden spoon to deglaze thoroughly after adding the liquid.
Another common issue is overcooking the vegetables. While the Instant Pot is efficient, vegetables can quickly turn mushy if cooked for too long. Stick to the recommended 5-minute pressure cooking time, especially for tender vegetables like broccoli and snap peas. If you prefer very crisp-tender vegetables, you can even add them during the quick release phase and let them steam for a minute or two with the residual heat.
Cutting the chicken pieces too large or too small can also affect cooking. Aim for uniform 1-inch pieces so they cook evenly. If they are too big, they might not cook through in the allotted time; if too small, they could become dry.
Finally, forgetting to adjust the sealing valve to the “Sealing” position before starting the pressure cooking cycle is a common oversight. If the valve is left on “Venting,” the pot won’t come to pressure, and your food won’t cook properly. Always double-check this crucial step before you walk away from the Instant Pot.
How To Store It And Make It Ahead Without Ruining Texture
This Instant Pot garlic ginger chicken and veggies is excellent for meal prep and stores beautifully, making your weeknights even easier.
To store leftovers, allow the dish to cool completely before transferring it to an airtight container. It will keep well in the refrigerator for up to 3-4 days. This makes it perfect for packing healthy lunches or having a quick dinner ready to reheat.
For making it ahead, you can cook the entire recipe as directed and then store it. The flavors often meld and deepen overnight, making it even more delicious the next day. When reheating, you can use the microwave or gently warm

FAQs
- Can I make these ahead? Yes—prep ahead, refrigerate, then serve when ready.
- How long do leftovers last? Store covered in the fridge for 3–4 days for best texture.
- Can I adjust sweetness? Yes—add more or less sweetener to taste.
- Can I change the fruit? Yes—swap strawberries for blueberries, raspberries, or sliced banana.